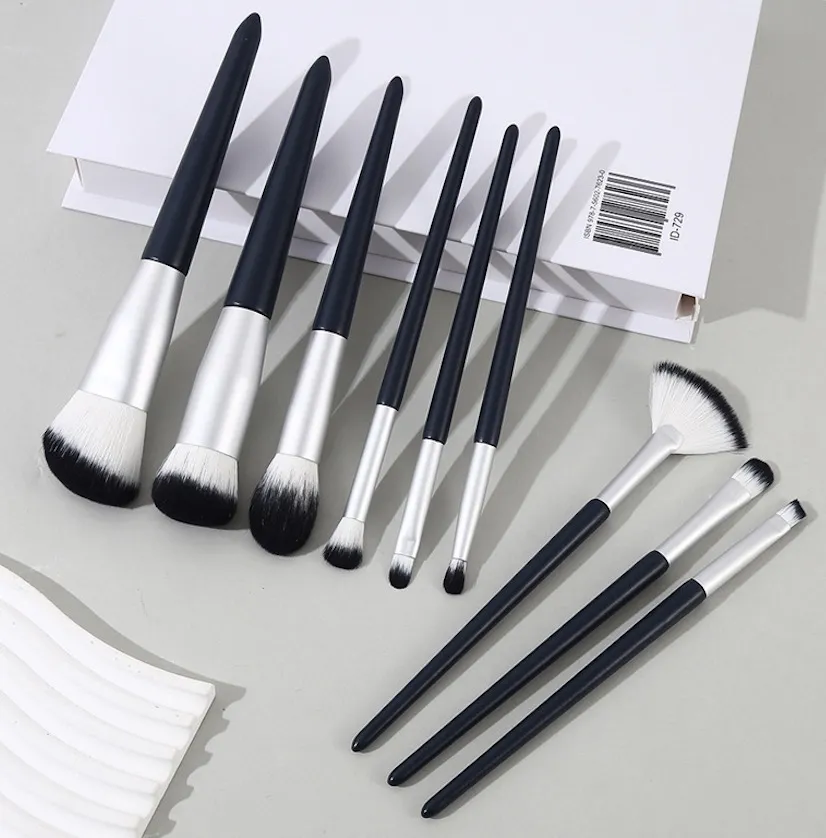
Your brush logo is fading, and customers are complaining. You need a labeling method1 that looks premium and lasts, but navigating OEM options feels overwhelming. Let’s fix that.
Label makeup brushes by matching the print method2 to the material. Use screen or UV printing on handles for text and icons, hot foil for glossy logos, and laser marking on metal ferrules for permanent identification. Choose standardized names or compact icons for fast, readable labels.
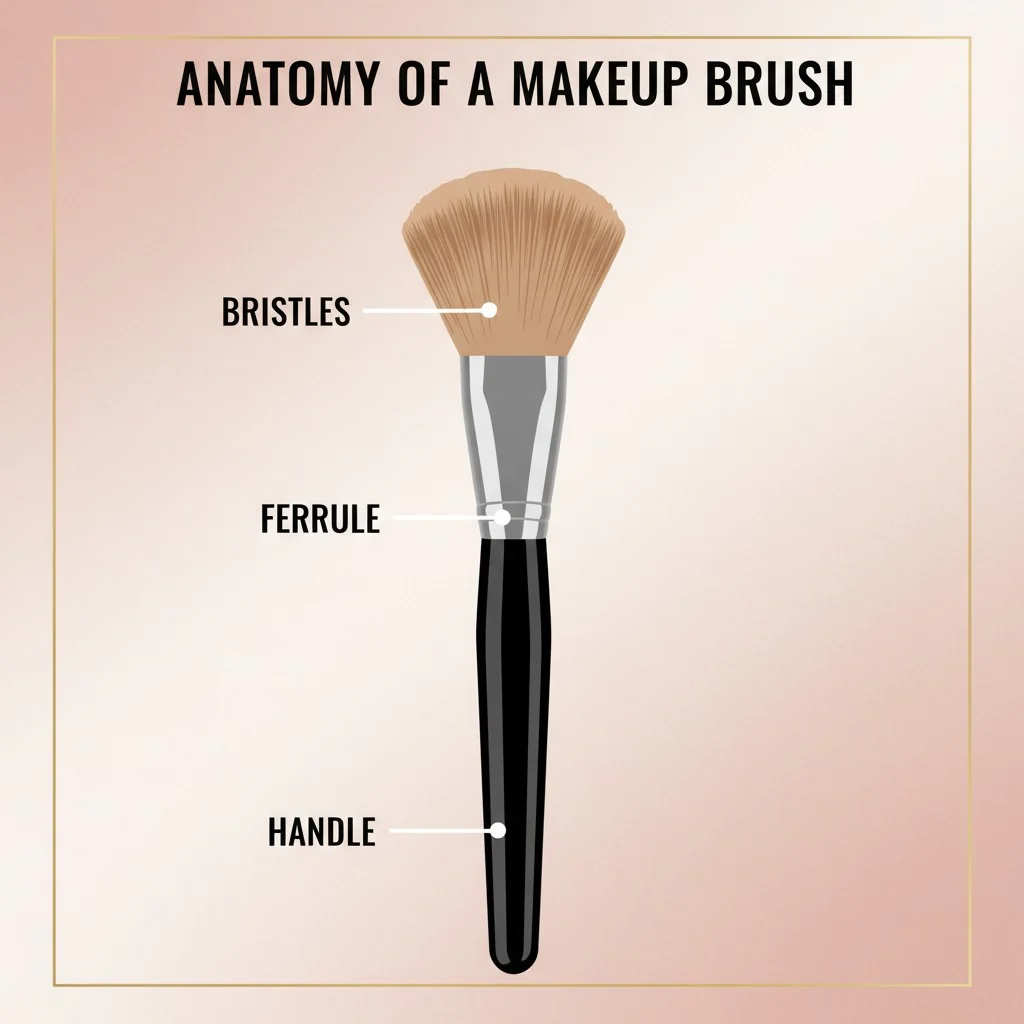
The small details on a makeup brush, like the name and logo, are a huge part of the customer experience3. A faded logo can make a premium brush feel cheap, and a confusing name can frustrate a user every single morning. I’ve spent years on the factory floor watching brands make small mistakes in labeling that have big consequences. The good news is that getting it right is straightforward when you understand the fundamentals. It’s not just about putting your name on a product; it’s about building a tool that feels intuitive, professional, and durable. Let’s walk through the exact process I use with my clients to ensure their brush branding is perfect from day one.
Any printing method works on any brush material.False
Printing success is highly dependent on the substrate. For example, standard inks adhere poorly to metal ferrules, making laser marking a far superior choice for durability and legibility.
The material of the brush handle and ferrule determines the best labeling method.True
Wood, plastic, aluminum, and copper each have unique properties. Matching the printing technology (e.g., UV print, hot foil, laser engraving) to the material ensures the logo is durable and visually appealing.
How do you choose the right print method for wood, plastic, or metal parts?
Your brush handle is a blank canvas, but the wrong "paint" will quickly chip and fade. You need a printing method that matches the material for a logo that lasts.
Select by substrate4 and finish. For painted wood or plastic handles, use screen printing for single colors, UV for multi-color, and hot foil for metallic effects. For metal ferrules, always prefer laser marking for permanence.
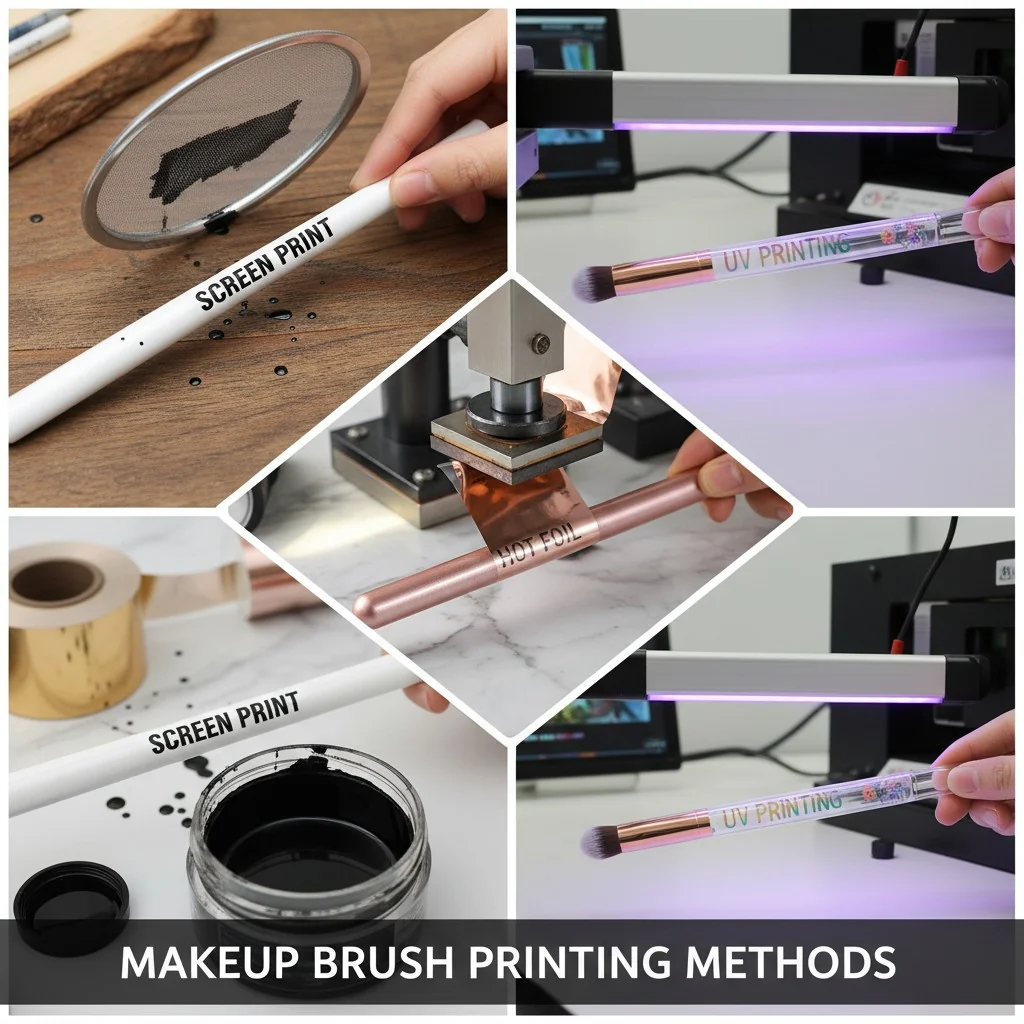
When I first started in a brush factory, I was amazed at how many ways there are to print a simple logo. The key isn’t finding the "best" method, but the right method for your specific brush. A beautiful design can be ruined if it’s applied to the wrong surface. The handle material and the ferrule material are your starting points. A glossy plastic handle needs a different approach than a matte wooden one, and printing on a metal ferrule is a completely different game. Thinking about the material first saves you from the pain of seeing your beautiful branding wear off after a few uses.
Matching Print Technology to Brush Components
Let’s break down the most common options. Your choice impacts everything from color capability to durability.
- Handles (Wood/Plastic): This is where you have the most creative freedom. The surface is typically coated or painted, making it receptive to various inks.
- Ferrules (Aluminum/Copper): Metal is non-porous and slick. Ink doesn’t like to stick to it permanently. This is why we almost always turn to lasers for ferrules.
Here is a simple table to guide your decision:
| Print Method | Best For | Material Compatibility | Color/Finish | Durability |
|---|---|---|---|---|
| Screen Printing | Single-color logos, text | Painted Wood, Plastic | Matte, solid colors | Good |
| Hot Foil Stamping | Premium metallic logos | Painted Wood, Plastic | Glossy Gold/Silver | Good, but can abrade |
| UV Printing | Multi-color, complex graphics | Painted Wood, Plastic | Near full-color, glossy | Excellent with proper curing |
| Pad Printing | Curved or uneven surfaces | Painted Wood, Plastic | Mostly single-color | Good |
| Laser Marking | Permanent ferrule labels | Aluminum, Copper | High-contrast, no ink | Permanent |
UV printing is just a faster version of screen printing.False
UV printing uses ultraviolet light to instantly cure specially formulated inks, allowing for complex, multi-layered, full-color graphics. Screen printing applies one color at a time through a mesh screen, which is better for simple, solid-color designs.
Pad printing is ideal for printing logos on the curved surface of a brush handle.True
Pad printing uses a flexible silicone pad to transfer a 2D image onto a 3D object, enabling partial wrap-around coverage on cylindrical handles that other flat methods can't achieve.
Should you use a name or an icon for your brush labels?
Your customer is rushing to get ready. They grab a brush, but can’t tell if it’s for concealer or eyeshadow. This daily frustration damages your brand experience.
Use short text (under 12 characters) like “Fdn” or “Bld,” or simple icons. High-contrast colors and clear placement near the mid-handle ensure users can identify the right brush instantly, improving their daily routine.
![]()
The goal of a brush label is instant recognition. Your customer shouldn’t have to squint or think too hard. From my experience helping hundreds of brands, the most successful labeling systems are either ruthlessly efficient with text or universally understood with icons. Long, descriptive names like "Tapered Highlighter Fan Brush" are great for website copy but terrible for a 5mm-wide handle. The label is part of the product’s user interface (UI). A good UI is invisible and intuitive; a bad one is a constant source of friction. By making your brushes easy to identify, you’re not just printing a name—you’re designing a better, faster, and more hygienic user experience.
Designing for Readability and Function
Clarity is your top priority. A beautiful, unreadable label is a failure. Here’s how to ensure your labels work for the user.
- Standardize Your Naming: Don’t invent new names for standard brushes. It confuses customers. Stick to a recognized taxonomy. This builds trust and makes your brushes easy to integrate into an existing collection.
- Prioritize Contrast: A light grey logo on a beige handle might look chic in a design file, but it will be invisible in a dimly lit bathroom. Always choose a high-contrast Pantone color against your handle’s base color.
- Think About Placement: The middle of the handle is usually the best spot. It’s balanced and less likely to be covered by the user’s hand. For ferrules, a small laser-etched icon is a permanent solution that remains visible even if the handle’s finish wears.
Here are some common abbreviations and icon ideas5 based on a standard brush taxonomy:
| Brush Category | Standard Name | Abbreviation | Icon Idea |
|---|---|---|---|
| Face | Foundation | FDN, FND | A simple face silhouette |
| Face | Powder | POW, PWDR | A fluffy cloud shape |
| Face | Contour | CNT, CNTR | An angled line or cheekbone shape |
| Eyes | Blending | BLD, BLND | Two overlapping circles |
| Eyes | Crease | CRE | An arc shape |
| Eyes | Eyeliner | LNR | A thin, sharp line |
| Lips | Lip | LIP | A simple lip silhouette |
Long, descriptive brush names on the handle make a brand look more professional.False
Overly long names are difficult to read on a narrow, cylindrical handle and can frustrate users. Short abbreviations or simple icons are far more effective for quick identification.
Labeling brushes by function (e.g., face vs. eye) can improve user hygiene.True
Clear separation helps prevent cross-contamination, for instance, by stopping a user from accidentally using a brush with eyeshadow fallout to apply concealer, which improves both makeup application and skin health.
How do you test labels to prevent logo wear and ensure compliance?
You’ve approved a beautiful sample, but the logo on your bulk order rubs off after one cleaning. This quality issue can lead to returns and damage your brand’s reputation.
Implement simple QC tests. Use a tape adhesion test for print strength and rub tests with water and alcohol to simulate cleaning. A durable label should easily pass these checks without fading or peeling.
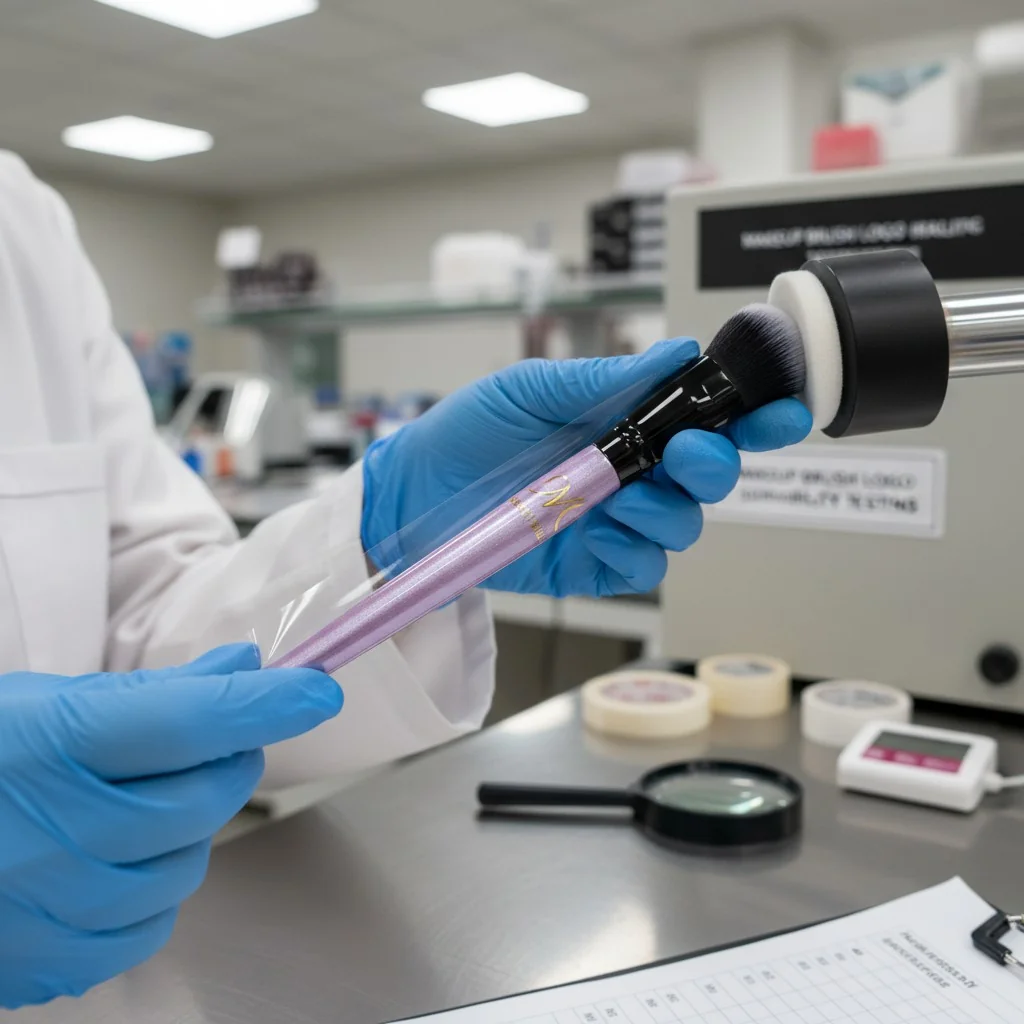
On the factory floor, we live by a simple rule: "trust, but verify." A good sample is just the first step. Real-world use involves friction from makeup bags, oils from hands, and solvents from brush cleaners. Your logo has to withstand all of it. That’s why we developed a set of simple, repeatable tests that mimic the life of a brush. For brand founders like you, insisting on these tests from your OEM partner is non-negotiable. It’s the single best way to move from "hoping" your quality is good to knowing it is. It protects your investment and, more importantly, your customer’s trust in your brand.
Simple QC Tests for Every Brand
You don’t need a million-dollar lab to check for quality. These four checks can be done quickly and will catch 99% of printing durability issues.
- Tape Adhesion Test: Take a piece of high-tack tape (like 3M Scotch 610), press it firmly over the logo, and then rip it off quickly. A weak print will peel off with the tape. A good print will remain perfectly intact.
- Dry Abrasion Test: Rub the printed area with a clean, dry cloth for 100-200 cycles. This simulates friction inside a makeup bag. There should be no visible fading.
- Water/Alcohol Wipe Test: Wipe the logo 30-50 times with a water-dampened cloth, then another 30-50 times with a cloth dampened with 70% isopropyl alcohol. This simulates regular cleaning. The logo must not smear, fade, or dissolve.
- Heat/Humidity Exposure: For coated handles, placing a sample in a small, warm, and humid chamber for a few hours can quickly reveal issues with the coating or print adhesion that might otherwise take months to appear.
Laser marking on metal ferrules will pass all these tests easily. For handles, a well-cured UV print or a properly applied screen print should also pass. Hot foil is strong but can be susceptible to the abrasion test, so it’s best used on less-handled areas of the brush.
A logo that looks good on a sample brush will automatically be durable in the final production.False
Sample approval is only the first step. Bulk production quality can vary. Durability must be verified with standardized QC tests like tape adhesion and abrasion rubs on production units.
Wiping a logo with 70% isopropyl alcohol is a good way to simulate the effects of brush cleaner.True
Many brush cleaners contain alcohol as a primary solvent. Testing with isopropyl alcohol is a fast and effective way to ensure the printed logo won't dissolve or fade during routine cleaning.
What is the OEM reality of private label brush printing?
You have a perfect logo design, but your factory partner is asking for vector files, Pantone codes6, and has a high MOQ. The technical details can be a major roadblock for new brands.
Prepare vector artwork (AI, PDF), specify Pantone codes for colors, and understand that MOQs are standard. The process involves artwork submission, digital proofs, physical sample approval, and stress testing before mass production begins.
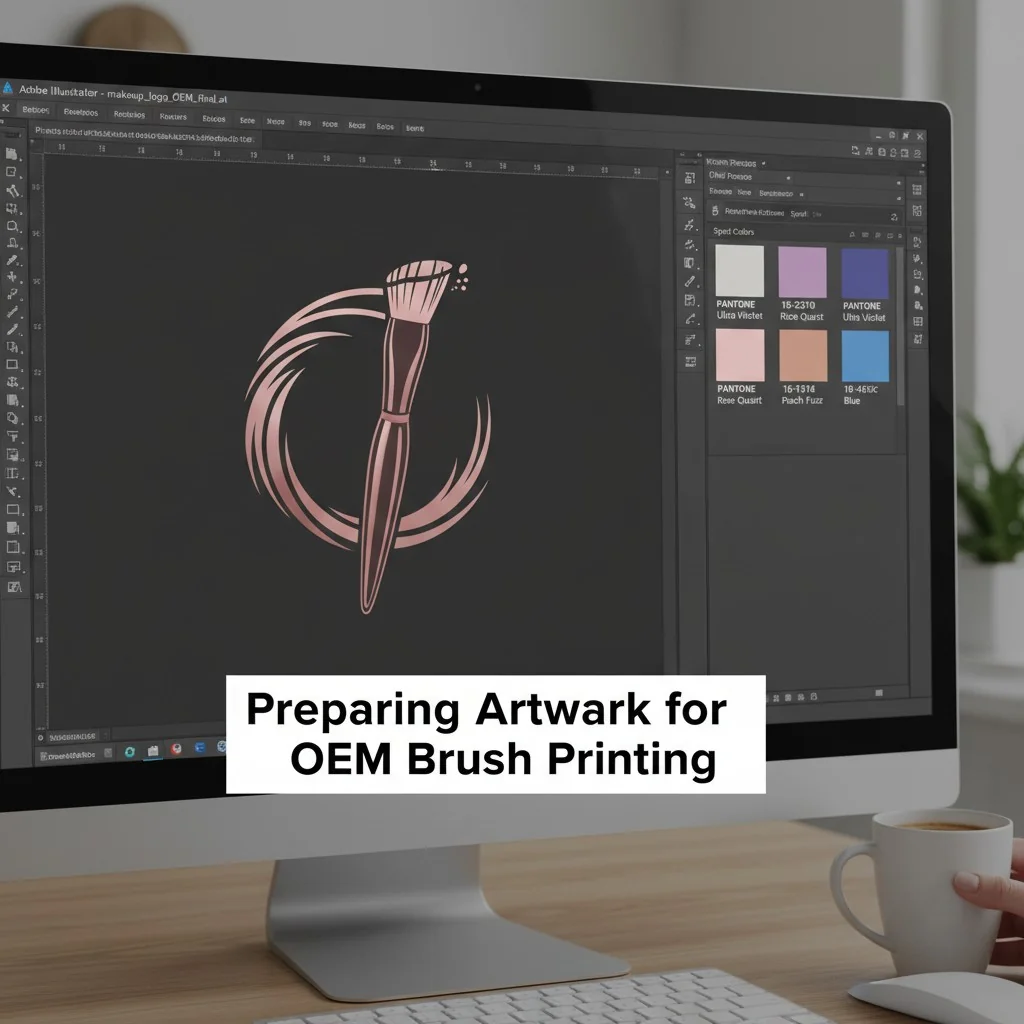
I talk to brand founders every day who are frustrated by the gap between their creative vision and the technical realities of manufacturing. It’s one of the main reasons I started Brushino—to make the OEM process7 transparent and accessible. Getting your logo printed correctly is a partnership. Your factory needs specific information from you to execute your vision perfectly. Understanding their language and process—from file types to timelines—is the key to a smooth, fast, and successful launch. It removes the guesswork and ensures the brushes you receive are exactly what you dreamed of.
Your Step-by-Step Guide to OEM Printing
Let’s demystify the process. Here is the typical workflow you should expect from a reliable OEM partner:
- Artwork Submission: You need to provide your logo or design in a vector format. The most common files are Adobe Illustrator (.ai), .PDF, or .SVG. Unlike JPEGs, vector files can be scaled to any size without losing quality. For colors, provide a specific Pantone (PMS) code for single-color prints (like screen printing or hot foil) to ensure perfect color matching. For full-color UV prints, CMYK or RGB values are a good starting point.
- Digital Proof: Before making anything physical, your supplier should send you a digital mockup showing the logo’s size and placement on the brush. This is your chance to make adjustments.
- Physical Sample Approval: This is the most critical step. Your partner will print your logo on an actual production-grade brush handle or ferrule. This is the sample you will use for the durability tests we discussed earlier (tape, rub, alcohol). Do not approve bulk production until you have this physical sample in your hands and have tested it yourself.
- Production: Once you approve the sample, mass production begins. Timelines vary. A single-color screen print is fast, but a multi-color design requiring multiple screens will take longer. UV printing can consolidate steps but requires careful control over the curing process.
Understanding this flow helps you plan your launch timeline and communicate effectively with your supplier.
You can send a factory a JPEG or PNG file for your logo.False
Factories require vector files (like .AI, .SVG, or .PDF) for printing. Vector files are made of mathematical paths and can be scaled infinitely without losing quality, unlike pixel-based files like JPEGs which become blurry when enlarged.
The MOQ for custom printing is usually the same as for blank brushes.False
Custom printing involves setup costs for screens, plates, or machine calibration. Because of this, the Minimum Order Quantity (MOQ) for custom-printed brushes is almost always higher than for non-customized stock items.
Conclusion
Choosing the right label is about matching the method to the material, designing for the user, and verifying quality. This ensures your brushes look professional and build lasting brand trust.
References
-
Explore effective labeling methods to enhance your brand’s image and customer experience. ↩
-
Understanding print methods is crucial for durability and aesthetics in branding. ↩
-
Learn how effective labeling can improve customer satisfaction and brand loyalty. ↩
-
Understanding substrate compatibility is key to achieving high-quality prints. ↩
-
Explore creative icon ideas that enhance recognition and usability for customers. ↩
-
Learn how Pantone codes ensure color accuracy and consistency in branding. ↩
-
Understanding the OEM process can streamline your product development and launch. ↩


