Your makeup sponge looks perfect for blending, but it might be hiding bacteria1. This can cause skin issues and ruin your brand’s reputation. Let’s fix that with a simple cleaning routine.
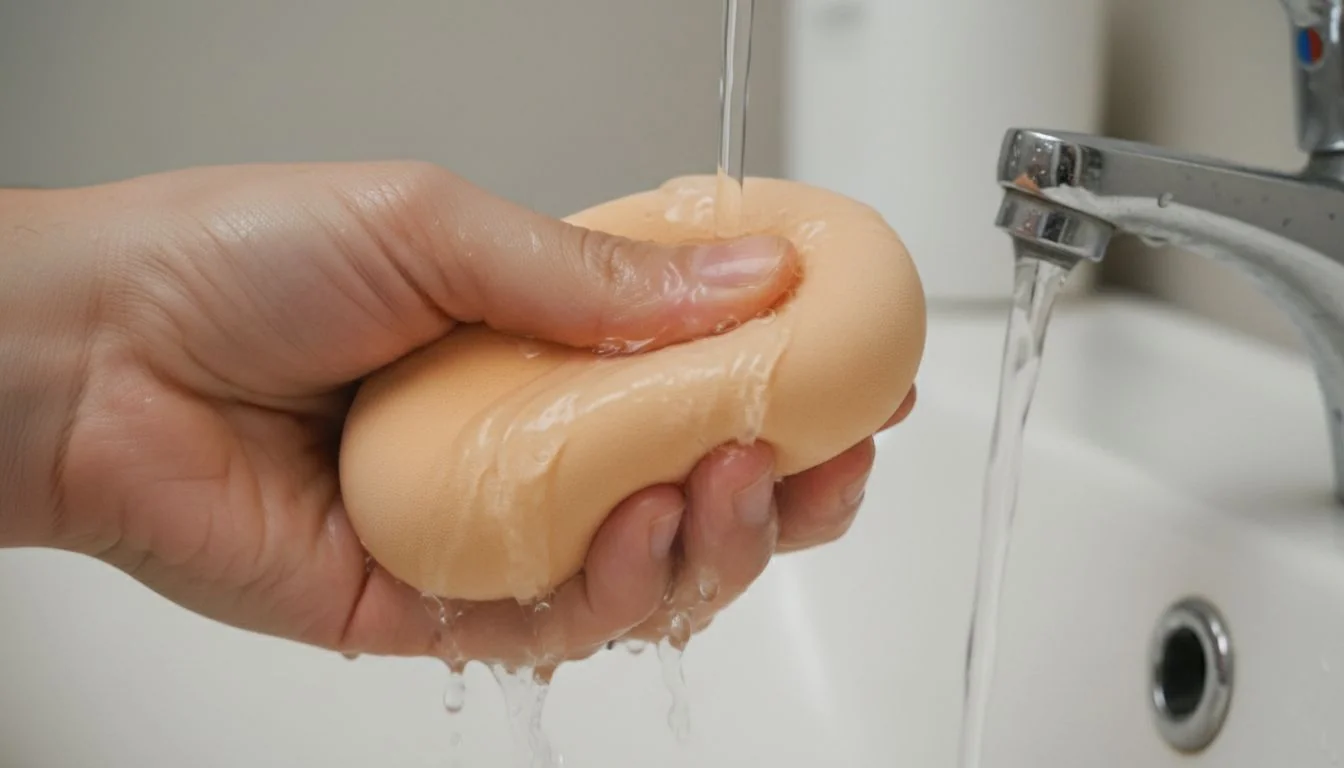
To clean a makeup sponge: fully wet it with warm water, massage in antibacterial soap, squeeze and rinse until the water runs clear, then air-dry in a ventilated area. For long-wear stains2, pre-clean with micellar or enzyme cleanser, then soap double-clean; replace your sponge about every three months.

As a brand founder, you know that a high-quality product experience doesn’t end at the point of sale. How your customers care for their tools, like makeup sponges, directly impacts their satisfaction and their skin’s health. A dirty sponge can make even the best foundation look patchy and, worse, lead to breakouts. I’ve spent years on the factory floor understanding how these tools are made, and I want to share the right way to maintain them. This knowledge not only helps your customers but also reinforces your brand’s commitment to quality and care, from manufacturing to daily use.
Using a dirty makeup sponge can transfer bacteria and cause acne.True
Studies on used makeup sponges have found significant bacterial contamination, including opportunistic pathogens like E. coli and Staphylococcus aureus, which can lead to skin infections and breakouts.
You only need to clean your makeup sponge once a month.False
Data shows many users under-clean their sponges, but dermatologists recommend cleaning after each use for acne-prone skin and at least weekly for others to prevent bacterial buildup.
How Often Should You Clean and Replace a Makeup Sponge?
You’re worried about how often to clean your sponge to avoid breakouts. You see conflicting advice and aren’t sure what’s best. A simple, consistent schedule is the solution.
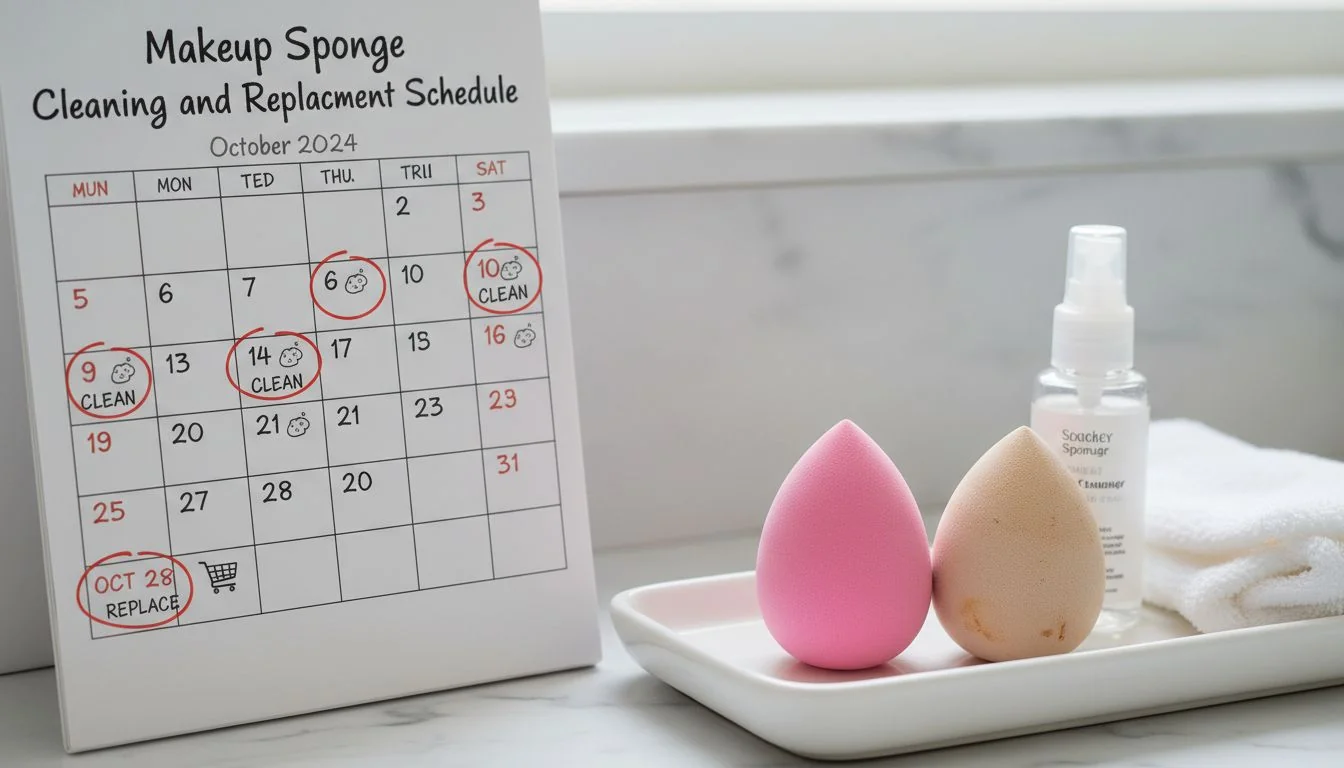
For daily users, a deep clean at least once a week is essential. If you have acne-prone or sensitive skin, I strongly recommend washing it after every single use. Always replace your sponge every three months, or sooner if you see tears, stubborn stains, or notice an odor.

When I work with brand owners like you, we often discuss the lifecycle of a product. A makeup sponge is not meant to last forever. Its porous structure, which is great for blending, is also a perfect environment for microbial growth if not cared for properly. A study I often reference in our B2B guides noted that 22% of consumers never clean their sponges. This is a huge risk for skin health. Educating your customers on a proper cleaning and replacement schedule3 is a key part of building brand trust. It shows you care about their results long after they’ve made a purchase. Here is a simple guide you can share with your community.
Makeup Sponge Care Schedule
| User Type | Cleaning Frequency | Replacement Trigger | Hygiene Risk Note |
|---|---|---|---|
| Daily User | Deep clean weekly | ~3 months | Moderate risk of product buildup and bacterial growth. |
| Acne-Prone/Sensitive Skin | After each use | ~1-2 months | High risk. Daily cleaning is crucial to prevent transferring bacteria and irritating skin. |
| Professional MUA/Salon | After each client | ~1 month or per policy | Highest risk. Single-use or strict post-use sanitization4 is required to prevent cross-contamination. |
| Occasional User | After each use | ~3-4 months | Low risk if cleaned and stored dry, but damp storage can still lead to mold. |
Replacing your makeup sponge every 3 months is a firm rule.False
Three months is a general guideline. You should replace it sooner if it shows signs of wear like tearing, develops a persistent odor, or has stains that won't wash out, as these can indicate material breakdown and trapped bacteria.
A study found that 39% of consumers clean their makeup sponges less than once a month.True
A summary cited in a Beautyblender guide highlights this consumer behavior, underscoring the need for better hygiene education to prevent the risks associated with dirty sponges.
What Are the Best Cleaning Methods by Product Type?
You’ve tried washing your sponge, but stubborn foundation stains won’t come out. Long-wear formulas seem impossible to remove completely. The key is matching your cleaning method to the product type.
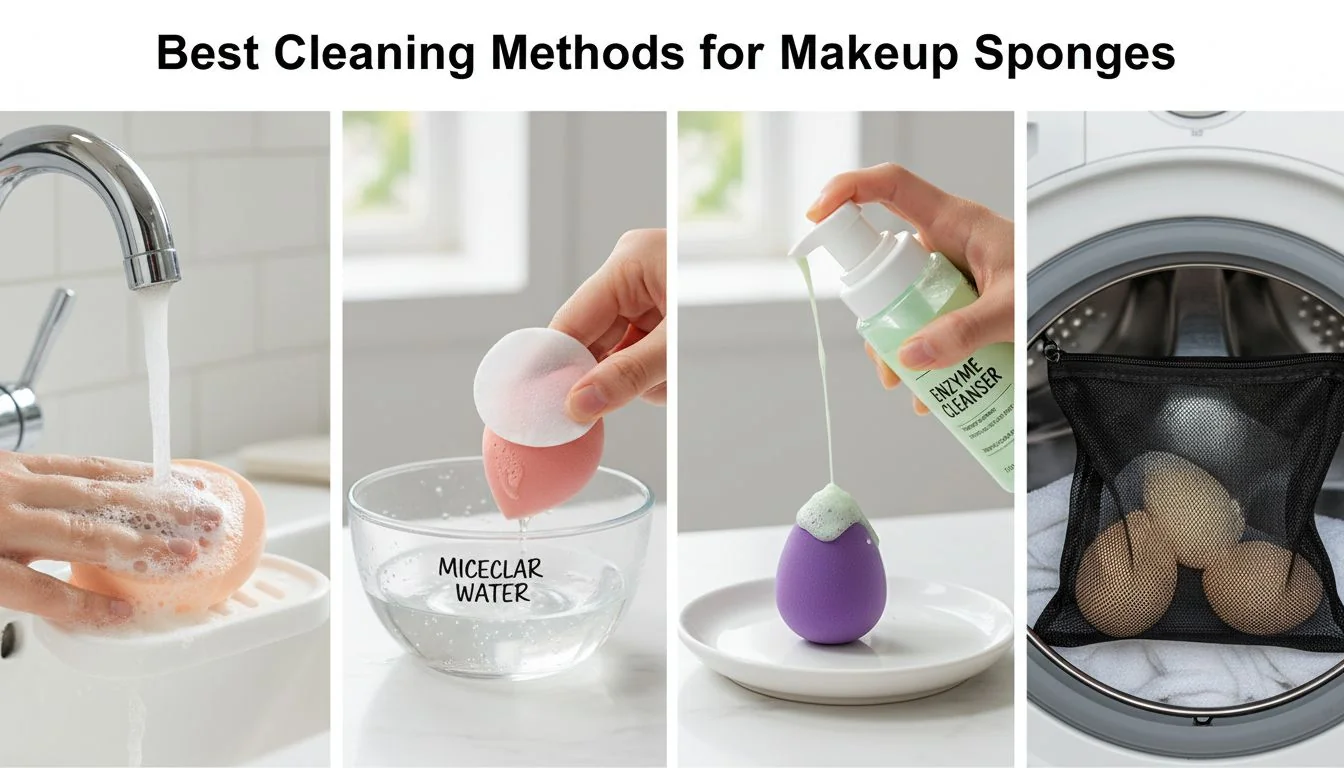
For everyday liquid and cream products, warm water and antibacterial soap work well. For tough, long-wear or silicone-rich formulas, use a pre-cleanse with micellar water5 or an enzyme cleanser first. This breaks down the oils and pigments, making the final soap wash much more effective.

In my factory, we test how different cosmetic formulas interact with the hydrophilic polyurethane foams we use for sponges. This has taught me that a one-size-fits-all cleaning approach doesn’t work. Long-wear foundations are designed to resist moisture and oil, so you need something that can break that bond before you can wash it away.
Deep Cleaning Techniques
- Standard Liquid/Cream Foundation: Fully saturate the sponge with warm water. Apply a gentle antibacterial soap or a dedicated sponge cleanser directly onto the stained areas. Massage and squeeze the sponge repeatedly under running water until the water runs completely clear.
- Long-Wear & Silicone-Rich Formulas: Start with a dry or slightly damp sponge. Apply micellar water or an enzyme-based cleanser directly to the sponge. Massage it in to break down the makeup. Let it sit for a minute, then proceed with the standard warm water and soap method described above. This is a double-cleanse for your tools.
- Batch Cleaning (For Pros): For makeup artists or schools, washing sponges one by one is inefficient. You can place multiple sponges in a mesh laundry bag and run them through a washing machine on a gentle cycle with a mild detergent. The most important step here is ensuring they are completely air-dried afterward.
Dish soap is the best cleanser for makeup sponges.False
While dish soap is a strong degreaser and can remove makeup, it can be too harsh for the delicate foam of a sponge, potentially causing it to break down faster. A gentle antibacterial soap or a dedicated cosmetic tool cleanser is a safer choice.
Micellar water alone is enough to clean a makeup sponge.False
Micellar water is excellent for breaking down and removing makeup residue and stains, but it does not sanitize the sponge. You must follow up with an antibacterial soap and water wash to properly clean and reduce microbes.
How Do Sanitization and Cleaning Differ for Sponges?
You wash your sponge, but it still feels a bit grimy or develops an odor quickly. You might be cleaning but not sanitizing. Understanding the difference is key to true hygiene.
Cleaning removes physical residue like makeup and oil. Sanitization reduces the number of harmful microbes to a safe level. For a sponge, this means washing thoroughly and then ensuring it dries completely and quickly in a ventilated space to prevent bacterial regrowth.

The biggest mistake I see people make is storing a damp sponge. When we design sponges, we use hydrophilic (water-loving) foam. It’s what allows the sponge to expand and blend makeup flawlessly. But that same property means it holds onto water. Sealing a damp sponge in a makeup bag or drawer is like creating a petri dish. You must let air circulate around it.
Cleaning vs. Sanitizing
- Cleaning: This is the physical act of removing dirt and product. It involves fully saturating the sponge, using a cleanser with adequate contact time (massaging it in for at least 30-60 seconds), and rinsing until the water is clear.
- Sanitizing: This step focuses on killing germs. While a good wash with antibacterial soap helps, true sanitization for a sponge relies heavily on what happens after the wash.
- Heat: The microwave method (a fully submerged sponge in soapy water, heated for about a minute) can reduce microbes. However, it carries risks. Overheating can melt or damage the foam, and handling the hot water can cause burns. I see it as an occasional quick fix, not a primary routine.
- Drying & Storage: This is the most critical and safest sanitization step. After squeezing out all excess water, place the sponge on a clean, dry surface in an open, well-ventilated area. A small stand is perfect for this. Never, ever store it while it’s still damp.
The microwave method is the safest and most effective way to sanitize a makeup sponge.False
While microwaving a submerged sponge can kill bacteria with heat, it poses significant risks, including sponge damage from overheating and potential burns from hot water. Proper washing and thorough air-drying is a safer and more reliable daily method.
Storing a damp sponge in a sealed bag is fine as long as it's been cleaned.True
This is a common but dangerous practice. A damp, dark environment is the perfect breeding ground for bacteria and mold, even on a cleaned sponge. Always air-dry sponges completely in a ventilated area.
What Is a B2B SOP for Salon and School Hygiene?
As a salon owner or educator, you need a foolproof system to ensure client safety and brand integrity. Inconsistent sponge hygiene can lead to cross-contamination and damage your professional reputation.
Implement a strict Standard Operating Procedure (SOP6) that includes post-use cleaning logs, sponge rotation to ensure full dry time, and a firm 3-month replacement policy. This creates a verifiable system of hygiene that protects both your clients and your business.

When I consult with beauty schools and salon chains, my first question is always about their tool hygiene protocols. It’s a non-negotiable part of professional service. Your clients trust you with their skin. A clear, documented SOP is not just about being clean; it’s about demonstrating professionalism and managing risk. This is an area where you can’t afford to cut corners. As a supplier, we ensure our sponges are made from durable, latex-free, hydrophilic polyurethane foam that can withstand professional cleaning protocols, but the process itself is up to you. Here is a checklist to help you build your own SOP.
Salon/School Hygiene Audit Checklist
-
Client-Facing Protocols:
- Use a new or fully sanitized sponge for every client.
- Display client-facing signage explaining hygiene standards to build trust.
- Offer disposable sponges as an alternative for high-risk clients.
-
Post-Use Cleaning & Storage:
- Sponges are cleaned immediately after use with an enzyme pre-cleanse and antibacterial soap.
- A cleaning log is maintained to track sanitation cycles.
- Sponges are placed in a designated, well-ventilated drying station. Do not use until 100% dry (implement a rotation system with alternating sponges).
-
Quality Control & Replacement:
- A 3-month mandatory replacement policy is enforced for all sponges in rotation.
- Staff performs daily quality checks for tearing, persistent odor, or deep stains. Damaged sponges are discarded immediately.
- A cleaning supervisor audits the process weekly.
-
Procurement & Training:
- Procure only high-quality, latex-free, hydrophilic polyurethane sponges from reliable suppliers.
- All staff and students complete a mandatory training module on tool hygiene and the SOP.
Professional makeup artists can reuse the same sponge on multiple clients if they clean it in between.False
This practice poses a high risk of cross-contamination. Professional standards require using a new, disposable sponge or a thoroughly sterilized sponge for each client to ensure safety and prevent the spread of bacteria and skin conditions.
Latex-free sponges are better for professional use.True
Latex is a common allergen. Using latex-free sponges, typically made of hydrophilic polyurethane foam, eliminates the risk of allergic reactions in clients and is considered the professional standard.
Conclusion
Proper makeup sponge care is simple. It comes down to consistent cleaning, complete drying, and timely replacement. This protects your skin, ensures a flawless makeup application, and upholds your brand’s quality promise.
References
-
Understanding the impact of bacteria on makeup sponges can help you maintain better hygiene and skin health. ↩
-
Effective methods for removing long-wear stains can prolong the life of your makeup sponges. ↩
-
Knowing when to replace your makeup sponge is crucial for hygiene and skin health. ↩
-
Understanding sanitization is key to ensuring your makeup sponges are safe and hygienic. ↩
-
Exploring the effectiveness of micellar water can enhance your cleaning routine for makeup tools. ↩
-
Implementing a SOP can help maintain consistent hygiene standards in professional settings. ↩


