You’ve washed your brushes, but they’re still damp hours later. Using them wet ruins your makeup application and can even damage your expensive tools if you dry them incorrectly.
Most eye brushes air-dry in several hours, while dense face brushes often need to dry overnight. For best results, lay them flat with bristles over a counter’s edge for airflow. Never dry them upright in a cup, and avoid heat, which can weaken the glue.

You know the basic timeline, but why do some of your brushes take forever to dry while others are ready in a flash? It’s not just about size. From my years in the factory, I can tell you that several factors are at play. Understanding them is the key to protecting your investment and ensuring your tools last. Let’s break down what really makes a difference in drying time.
Drying brushes upright in a cup is the fastest and safest method.False
This is incorrect. Water seeps into the ferrule, dissolving the glue and leading to shedding and a ruined brush. This is the number-one cause of brush failure I see.
Laying brushes flat with bristles hanging over an edge protects the glue and speeds up drying.True
This method uses gravity to pull water away from the ferrule and allows for 360-degree airflow around the bristles, which is ideal for both speed and longevity.
What factors change makeup brush drying time?
Ever wonder why your big kabuki brush is still wet tomorrow when your small eyeshadow brush was dry in a few hours? It’s frustrating when you can’t predict drying times.
The most important factors are brush density1, fiber type (natural vs. synthetic), and your room’s humidity. A dense, natural-fiber brush in a humid room will take the longest to dry, sometimes up to 48 hours, while a small synthetic brush can be ready in 3-6 hours.

When we design and manufacture brushes, we think about these variables constantly because they affect performance and longevity. It’s not just one thing, but a combination of three key elements that determines how long you’ll be waiting.
Brush Density and Size
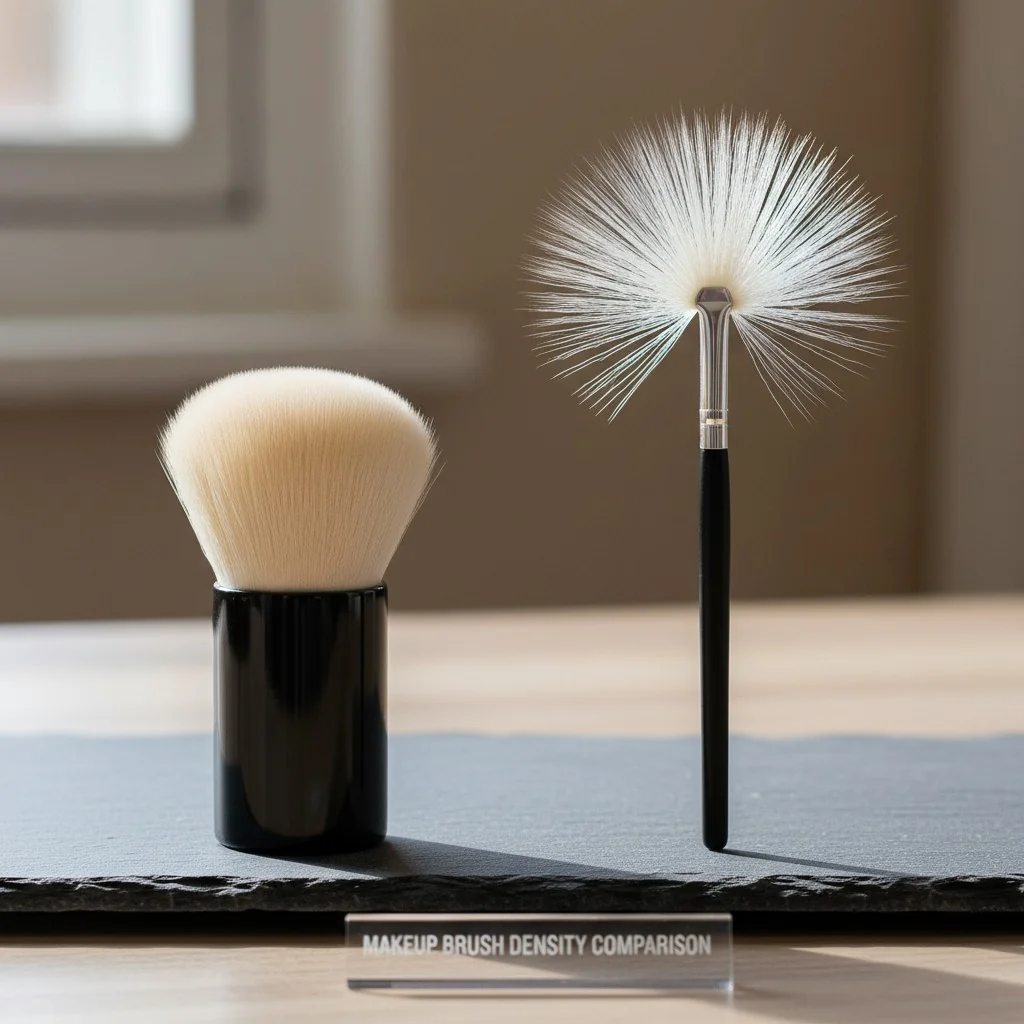
The most obvious factor is how many bristles are packed into the ferrule (the metal part). A dense foundation or kabuki brush has thousands of tightly packed fibers. It holds onto water like a sponge. In contrast, a fluffy blending brush or a fan brush has far fewer, more spaced-out bristles, so air can circulate easily and dry them quickly. Think of it like a dense forest versus a sparse field—the wind blows right through the field.
Fiber Type: Natural vs. Synthetic
The material of the bristles matters. Natural hairs, like goat or squirrel, have a cuticle structure, much like human hair. This cuticle can absorb and hold onto moisture, which means they often take longer to fully release water and dry. High-quality synthetic fibers, which we use for our vegan lines, are non-porous. Water coats the outside of the fiber but doesn’t soak in, allowing them to dry significantly faster.
Humidity and Airflow
Your environment plays a huge role. Trying to dry brushes in a steamy bathroom after a shower is a recipe for failure. High humidity in the air slows down evaporation. A dry room with good air circulation is the ideal setting. This is why a simple fan can cut drying time in half.
Natural and synthetic brushes always dry at the same speed.False
Natural fibers have a cuticle that absorbs moisture, often causing them to dry slower than non-porous synthetic fibers.
High humidity can more than double the drying time for a dense makeup brush.True
Evaporation slows dramatically in damp air. A brush that dries overnight in a dry room might take 24-48 hours in a humid climate without added airflow.
How can you speed up drying without ruining the glue or shape?
You need your favorite brushes dry by morning, but you’re terrified of damaging them. Using a hairdryer seems like a quick fix, but it can melt the glue and warp the bristles.
To speed up drying safely, use consistent airflow from a fan, not heat. Position brushes with bristles pointing down or hanging over an edge to let gravity pull water away from the ferrule. Proper spacing is also crucial for air circulation.

In my factory, we have to dry thousands of brushes efficiently after quality testing. We would never use heat. Heat is the enemy of a well-made brush. It attacks the adhesive that holds the bristles in the ferrule. Once that glue is compromised, the brush will start shedding, and there’s no going back. Instead, we rely on two simple, powerful forces: airflow and gravity.
The Power of Airflow
A gentle, constant breeze is the safest and most effective way to accelerate drying. Place your brushes a few feet away from a small room fan on a low setting. The moving air wicks moisture away from the bristles, dramatically speeding up evaporation. This is far superior to a hairdryer, even on a "cool" setting. Hairdryers provide intense, directed air that can blast your brushes out of shape, and many models still produce residual heat that can soften the glue over time. A room fan is gentle, consistent, and safe.
Gravity is Your Best Friend
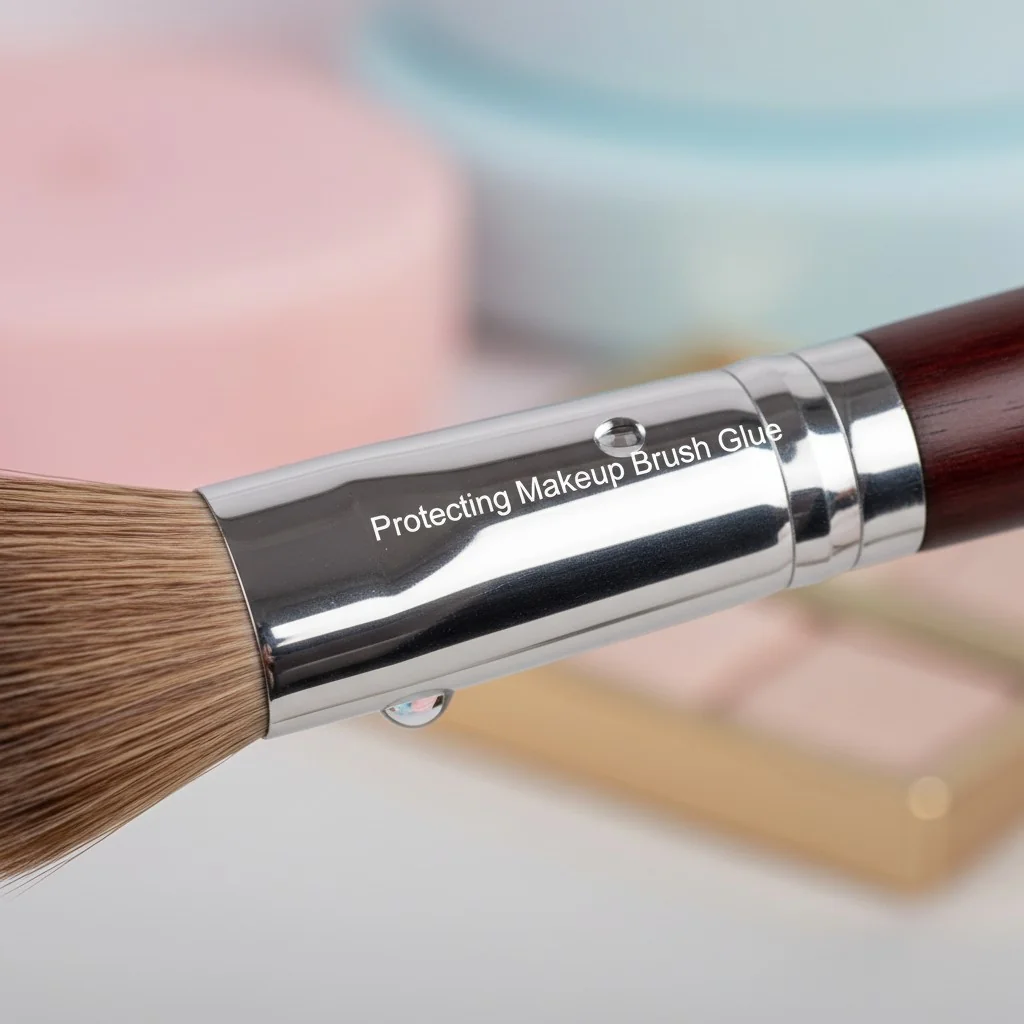
Never, ever dry your brushes standing up in a cup. Water will run down the bristles and pool inside the ferrule, where it will sit for hours, slowly dissolving the glue. This is the fastest way to destroy a brush. Instead, use gravity to your advantage.
- Lay Flat Method: Place a clean towel on the edge of a counter or table. Lay your brushes flat with the bristles hanging over the edge. This allows air to circulate all around the brush head.
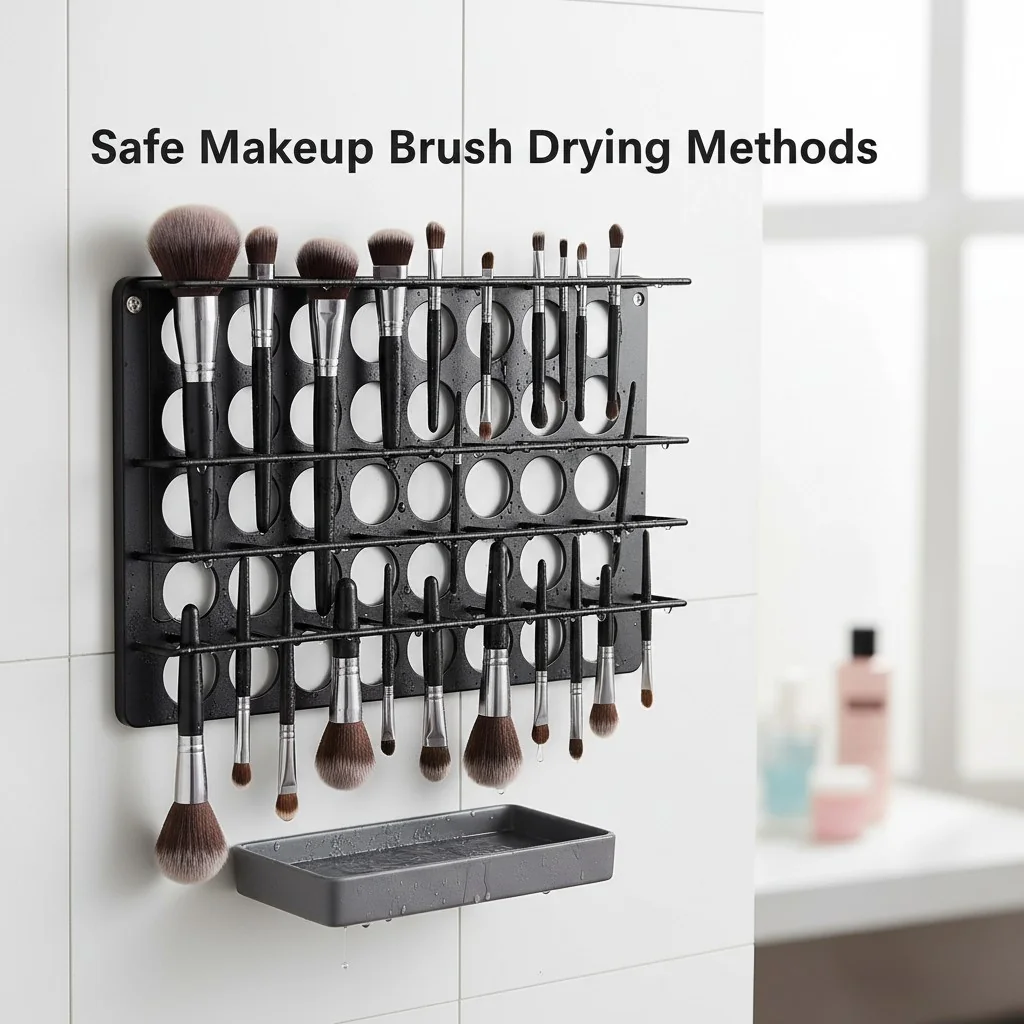
- Hang Upside Down: The gold standard is to hang brushes vertically, with the bristles pointing down. You can buy inexpensive brush drying trees or racks for this. This ensures every drop of water is pulled away from the delicate ferrule and handle.
Using a hair dryer on the 'cool' setting is a safe way to dry brushes.False
Many hair dryers still emit low levels of heat on cool settings, and the powerful, concentrated airflow can damage delicate fibers and misshape the brush head.
Hanging brushes upside down is the best method to protect the glue inside the ferrule.True
This orientation uses gravity to ensure water drips away from the ferrule and handle, preventing moisture from weakening the adhesive and causing shedding.
What’s the safest pro workflow to dry many brushes overnight?
As a makeup artist or a brand manager, you have dozens, maybe hundreds, of brushes to clean. Washing them is one thing, but getting them all dry and ready for the next day is a huge challenge.
After washing, gently squeeze excess water with a towel and reshape the bristles. Arrange them on a ventilated rack or hang them upside down with ample space. Finally, place a fan nearby to create constant, gentle airflow. This system ensures overnight readiness.

This is a logistics problem we solve every day. For makeup artists on set or for brands preparing kits for a launch, downtime is not an option. You need a reliable, scalable system. Here is the exact step-by-step workflow that pros use to guarantee their entire collection is perfectly dry and ready for work the next morning.
Step 1: Squeeze and Reshape
Immediately after the final rinse, gently squeeze the bristles between a clean, absorbent towel (microfiber works great). Do not twist or pull on the bristles. Once the excess water is out, use your fingers to gently comb through and reshape the brush head back to its original form. This step is crucial for preventing a misshapen, splayed-out brush.
Step 2: Arrange for Maximum Airflow
Now, set them up to dry. The key here is space—don’t let wet brush heads touch each other.
- Best: Use a dedicated brush drying tree or rack that hangs them upside down.
- Good: Lay them on a towel-lined counter with the bristles hanging over the edge.
Ensure there’s at least half an inch of space between each brush head.
Step 3: Add Gentle Ventilation
Position a small fan a few feet away, aimed at the brushes. Set it to a low or medium speed. You want to create a consistent, gentle cross-breeze, not a windstorm. This constant air movement is the secret to cutting drying time by 50% or more, making overnight drying possible even for dense brushes.
| Brush Type | Typical Time (Flat, Over-Edge) | With Fan/Ventilated Rack | Notes |
|---|---|---|---|
| Eye/Detail (Small, Low Density) | Several hours; often by morning | 3–6 hours | Maintain shape while drying; avoid heat. |
| Medium Face (Blush, Highlight) | Overnight (8-12 hours) | 6–12 hours | Squeeze excess water; reshape before laying flat. |
| Dense Face/Kabuki/Foundation | Overnight to 24–48 hours | 8–18 hours | Never dry upright; protect ferrule adhesive. |
Bunching wet brushes together in a rack helps them dry faster.False
This traps moisture and prevents airflow, creating a damp environment that slows drying and can encourage mildew growth.
A combination of a drying rack and a fan is effective enough to dry most dense brushes overnight.True
This professional setup maximizes airflow and uses gravity to remove water efficiently, making it the most reliable method for fast, safe drying at scale.
How do you know a makeup brush is fully dry and ready for use?
Your brush looks dry on the outside, but is it really? Using a secretly damp brush can lead to patchy makeup, and worse, it can become a breeding ground for bacteria.
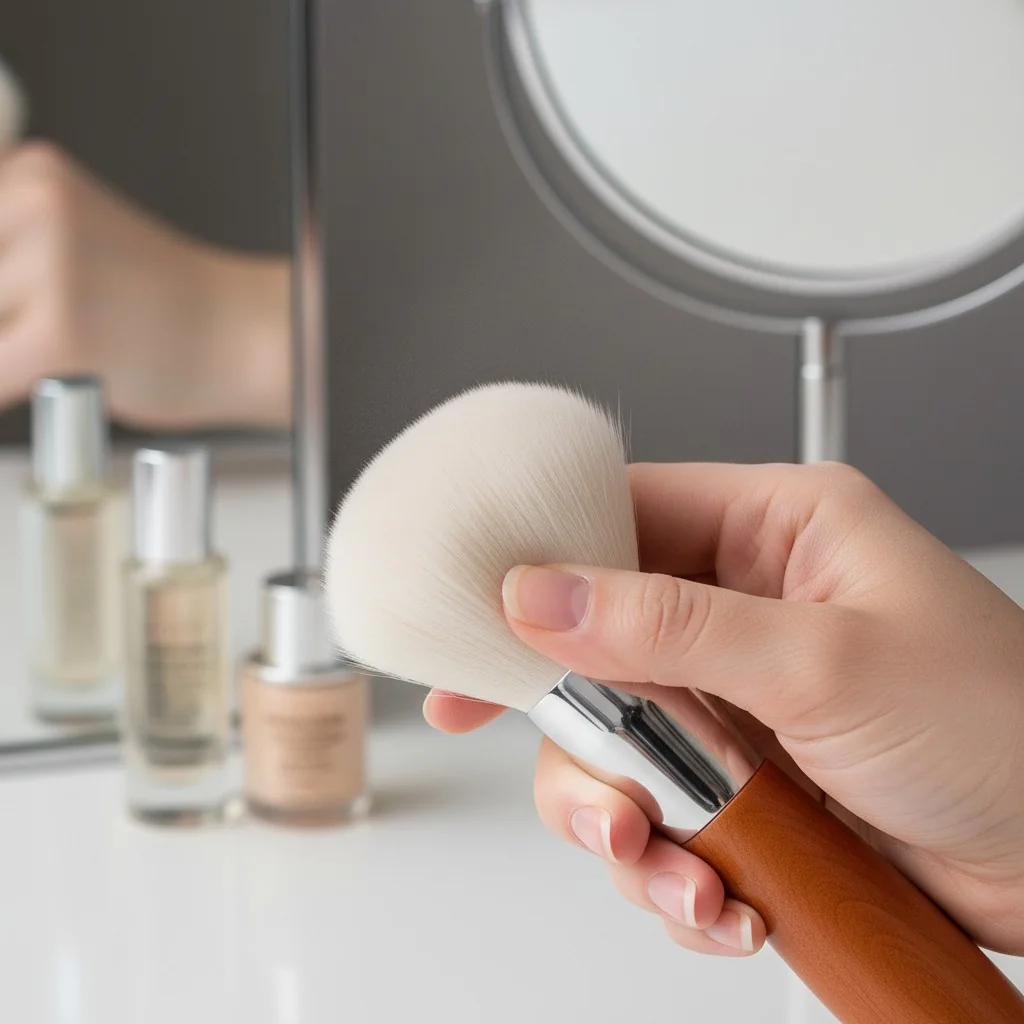
A brush is fully dry when the bristles feel soft and flexible, not stiff or cool. The most important test is to gently squeeze the very center of the brush head—it should feel completely dry and room temperature, with no hint of coolness or moisture.

After all the work of washing and properly setting up your brushes to dry, the final step is to confirm they are 100% ready. A partially damp brush is a problem for both makeup application and hygiene. Here’s how to be absolutely sure.
The Touch Test
Don’t just trust your eyes. The outer bristles always dry first, which can be deceptive. The real test is feeling the core of the brush. Gently pinch the densest part of the bristles, right at the center. If you feel any coolness, that’s a sign of residual moisture. A completely dry brush will feel uniformly soft and at room temperature from the tips to the base. The bristles should be flexible and move freely, not feel stiff or clumped together.
The Visual and Performance Check
A fully dry brush will look fluffy and have returned to its intended shape. If the bristles are still clumped or look a little stringy, it needs more time. The ultimate test, of course, is performance. A damp brush will not pick up powder products correctly. It will cause the powder to clump and apply patchily. If you dip your brush in eyeshadow or blush and it looks dark and pasty, stop immediately—the brush is still wet.
Why It Matters for Hygiene
Using a damp brush is a major hygiene risk. As the American Academy of Dermatology advises, brushes should be cleaned regularly to remove dirt and bacteria. A moist environment is the perfect breeding ground for microbes. For a professional makeup artist, ensuring brushes are bone-dry between clients is a non-negotiable part of sanitation and client safety.
If the tips of the bristles look fluffy and dry, the entire brush is ready for use.False
The center of a dense brush is the last part to dry. Using it prematurely can lead to poor application and bacterial growth.
A cool sensation when touching the center of the brush head is a clear sign of remaining moisture.True
Water evaporation has a cooling effect. If the core of the brush feels cooler than the tips or the surrounding air, it is not yet fully dry.
Conclusion
Properly drying your brushes protects your investment and ensures a hygienic, flawless application. Always use airflow and gravity, avoid heat, and check that the core is completely dry before use.
References
-
Brush density plays a crucial role in how long it takes for brushes to dry, impacting their longevity. ↩

